NFC at POS
At the point of sale (POS) you can write ticket IDs directly onto NFC wristbands. This requires the NiceCheckIn NFC Bridge software on the POS computer. It consists of a small Windows application and the NiceCheckIn NFC Writer Chrome extension.
Requirements
- Windows computer at the POS
- Google Chrome
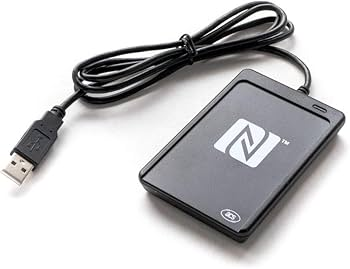
- USB NFC writer (e.g. ACS ACR1252)
Download
Download the latest installer:
n1c-nfc-bridge-1.0.2-installer.exe
Installation Steps
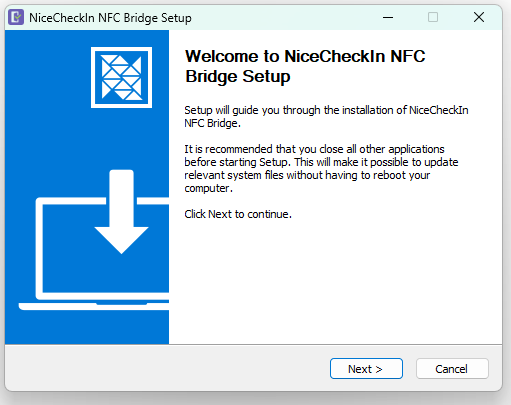
1. Run the Setup
Run the downloaded installer and click Next.
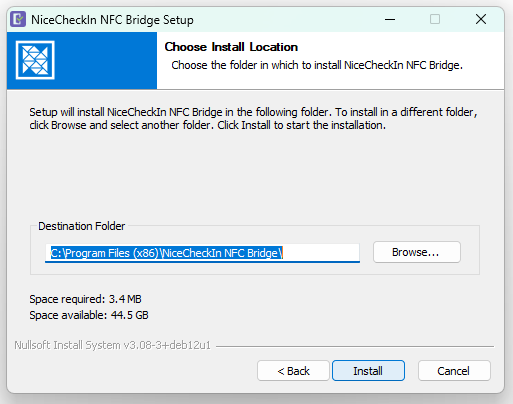
2. Choose the Install Location
Keep the default destination folder and click Install.
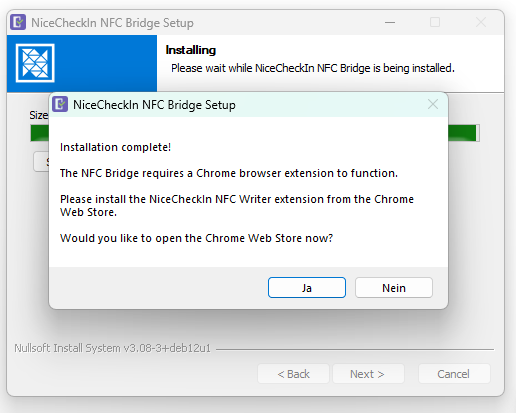
3. Install the Chrome Extension
After the installation completes, the setup asks whether to open the Chrome Web Store to install the NiceCheckIn NFC Writer extension. Click Yes.
In the Chrome Web Store, click Add to Chrome to install the extension.

Info
If you clicked No or the Chrome Web Store did not open, you can install the extension manually: NiceCheckIn NFC Writer
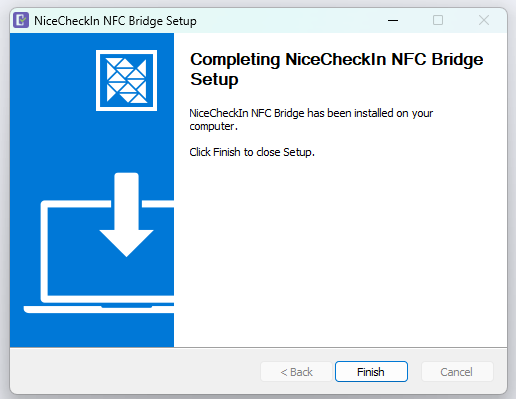
4. Finish the Setup
Click Finish to close the setup.
Verify the Installation
-
Connect the USB NFC writer to the POS computer.
-
Click the NiceCheckIn NFC Writer icon in the Chrome toolbar.
-
The popup shows the connected NFC reader and the status. Everything works when the status shows OK.
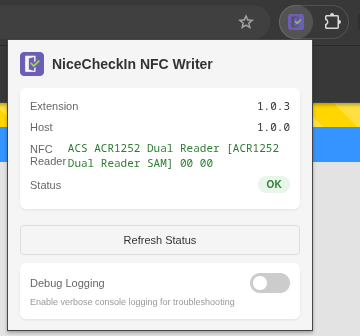
NFC Reader: Not Connected
If NFC Reader shows Not Connected and the status is SETUP INCOMPLETE, check the USB connection of the NFC writer. Then click Refresh Status.
Writing Tickets
When everything is set up correctly, NFC icons appear next to the tickets on the ticket page.
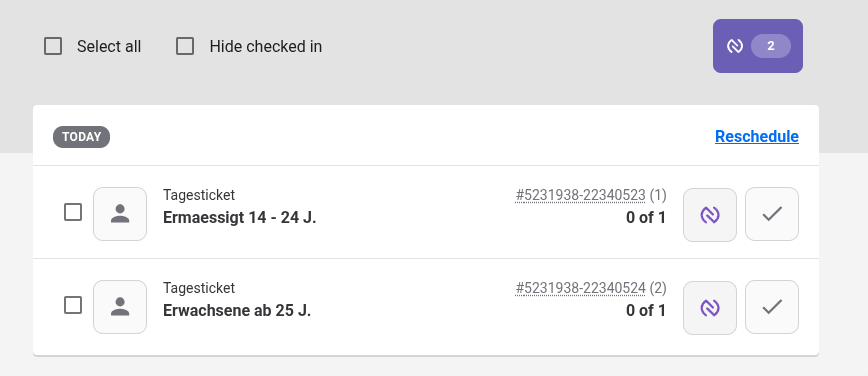
Write all tickets: The button at the top starts bulk writing. Place the NFC cards or wristbands on the writer one by one.
Write a single ticket: Click the NFC icon next to the ticket.